Tutorial: Routes
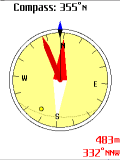
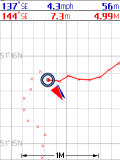
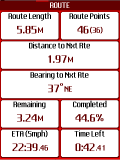
A Route is a pre-defined list of points that TMJ-Mobile will attempt to guide you along; as you reach the currently selected point the subsequent one will become the 'live' one, and so on, until the end point is reached. Routes are managed via the Route Screen (press [3]). Once a route has been created pressing [3] a second time will select the nearest routepoint and make the route active - other screens will then show arrows/information (in red) about the route progress.
Creating a Route
Although TMJ-Mobile can't automatically generate a route from one place to another there are several ways to create a route manually, which is useful for cross-country walking, rambling or similar outdoor activities:
Converting a Track To a Route
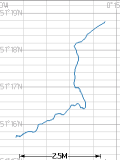
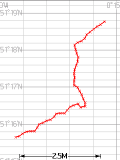
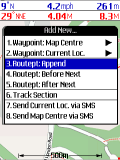
Lets suppose you've gone for a walk and have got lost. The Menu / Tools / Convert Track To Route function can be used to create a route from the existing track. The Screen 3 Context Menu / Reverse Entire Route function will then reverse the route enabling TMJ to guide you back the way you have come, right back to the original starting point.
Another use for converting the track to a route is to save the route for frequently-used journeys, for example driving, cycling or even catching a train to work. When the route is then used the following day TMJ will be able to give a more accurate ETA, based on your current average speed, along with an accurate 'distance to destination' readout.
Manually Creating/Editing a Route in TMJ-Mobile
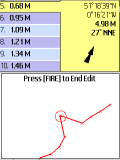
The Plan [4], Map [6] and Visualisation [8] pages can each be used to add new routepoints via Context Menu / New / Routept. If a routepoint has been entered incorrectly then the Route page context menu / Edit Point Location function allows its location to be adjusted.

Downloading a Previously Recorded Track from the Website
By using the Web Upload function to upload your live track to the TrackMyJourney website this will then be stored on the website and can then be downloaded back to the phone in the future for use as a route. The procedure is as follows:
1. When out and about use the Menu / Web / Enable Upload function to upload your current track to the website.
2. On returning home login to the website and move the track to the Routes folder, or to any folder which has the 'Make Available to TMJ-Mobile' option enabled.
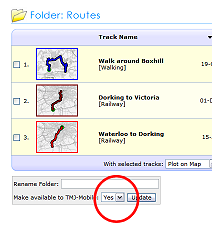
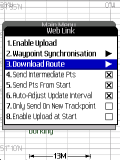
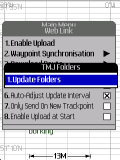
3. Next time you're out and about with TMJ-Mobile use the Main Menu / Web / Download Route / Update Folders function - this will download the current list of available folders and routes from the website.
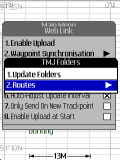
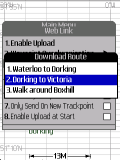
4. Return to Main Menu / Web / Download Route to see the updated folder list. Select a folder and choose the route to download.
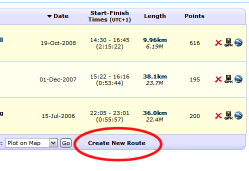
Manually Creating a Route from Scratch on the Website
Similar in use to the 'Download a Previous Track' option above, the website has a (currently quite basic) page for drawing a route directly onto a map, which can be quicker than doing this manually in TMJ-Mobile itself. This route can then be downloaded to the phone by following steps 3 and 4 above. The Create Route page can be found at the bottom of any folder list.